| Ubuntu安装qt | 您所在的位置:网站首页 › chmod cannot access no such file › Ubuntu安装qt |
Ubuntu安装qt
|
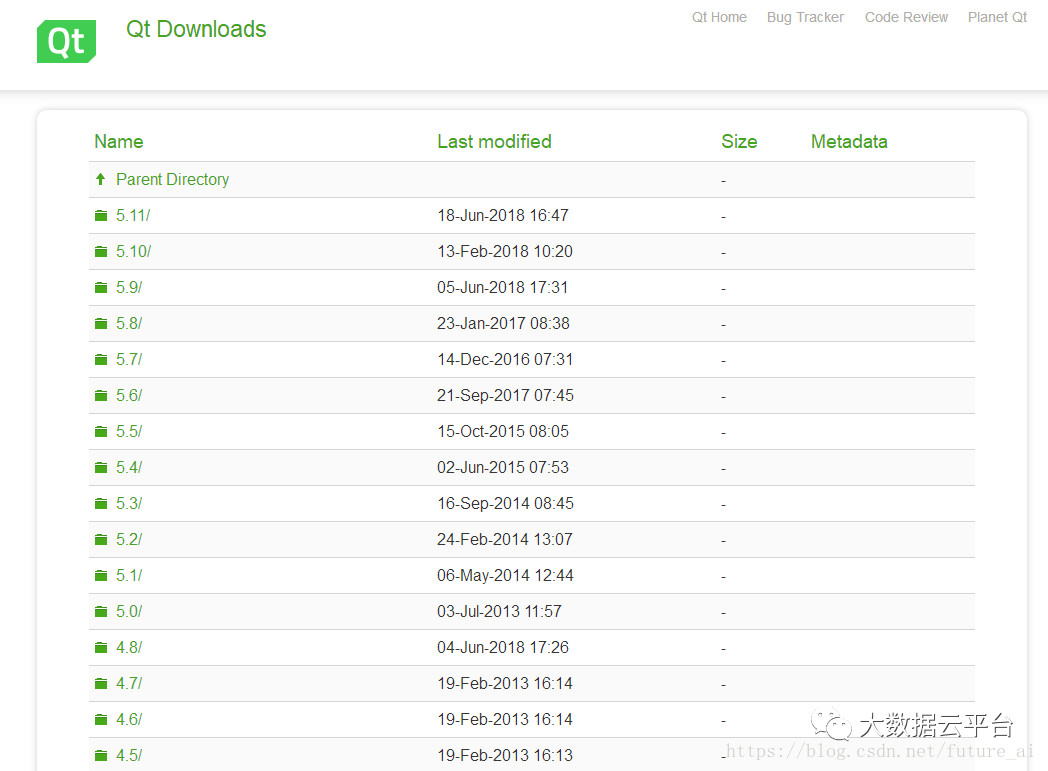
登陆qt官方下载页面:http://download.qt.io/archive/qt/
把下载好的qt-opensource-linux-x64-5.11.1.run放进Linux系统里。首先给qt-opensource-linux-x64-5.11.1.run运行权限,再运行。
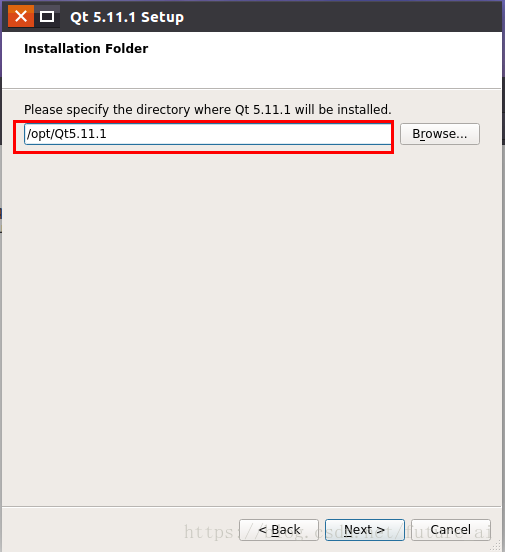
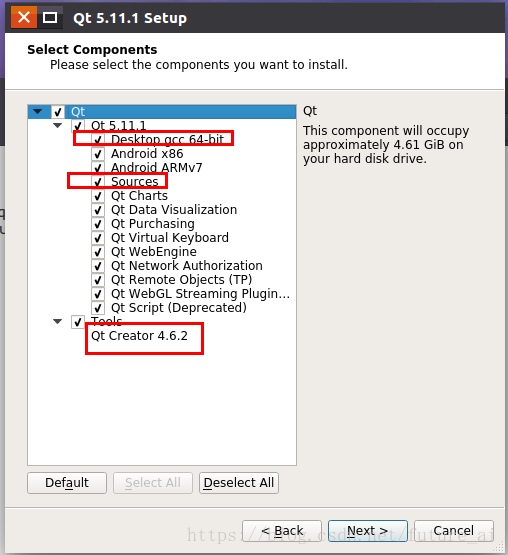
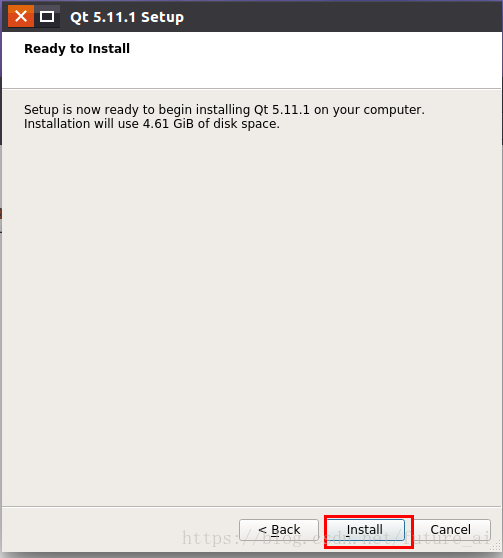
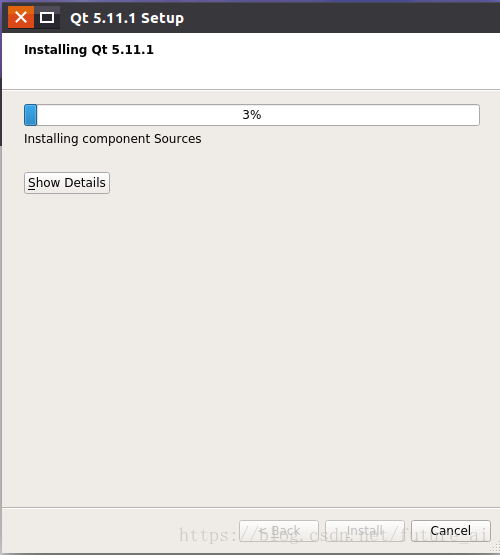
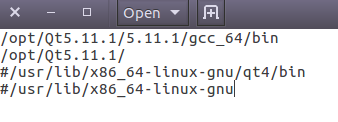
选择软件存储目录,最好选择默认目录 选择安装组件,可以只安装三个红色方框,最好全选。 点击安装之后,需要等待一段时间安装完成。 在命令行中输入:sudo gedit /usr/lib/x86_64-linux-gnu/qt-default/qtchooser/default.conf 打开default.conf文件,
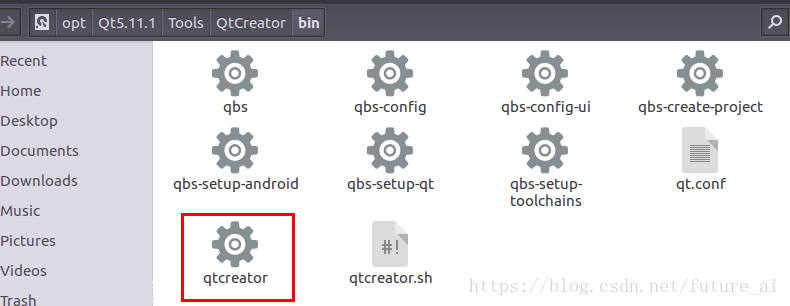
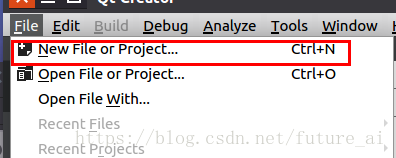
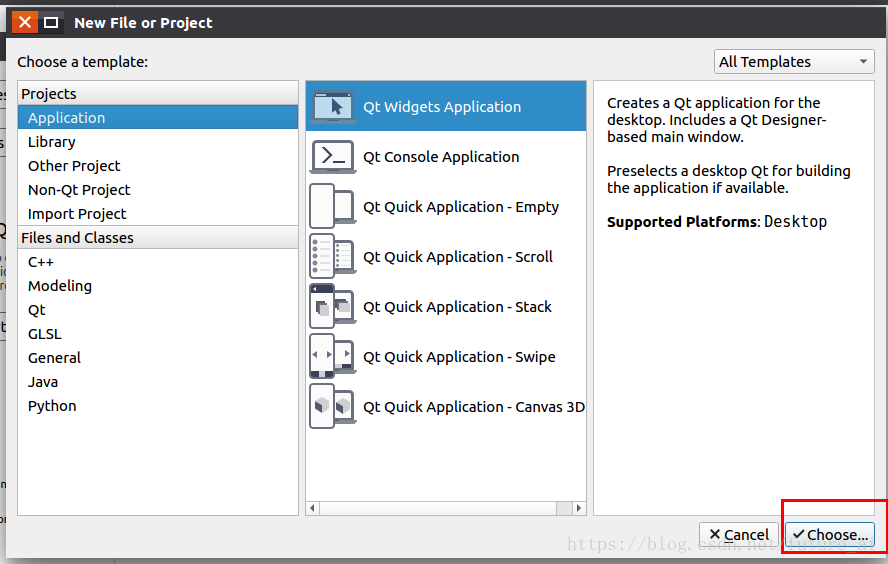
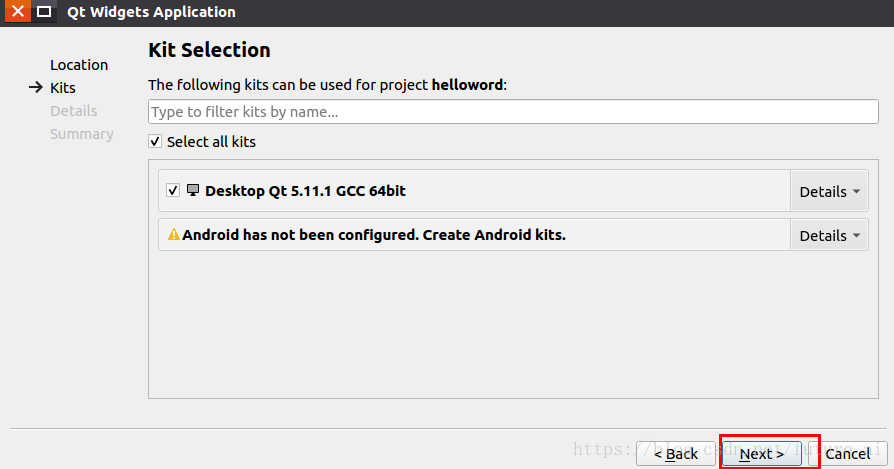
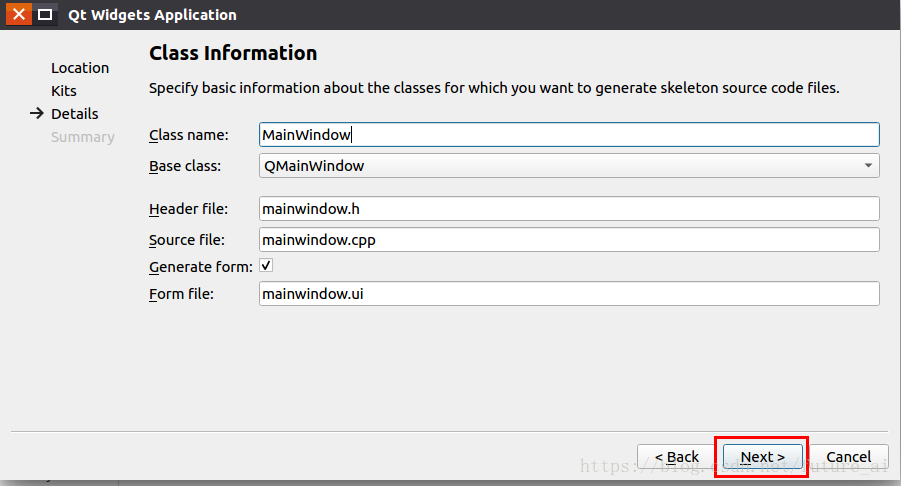
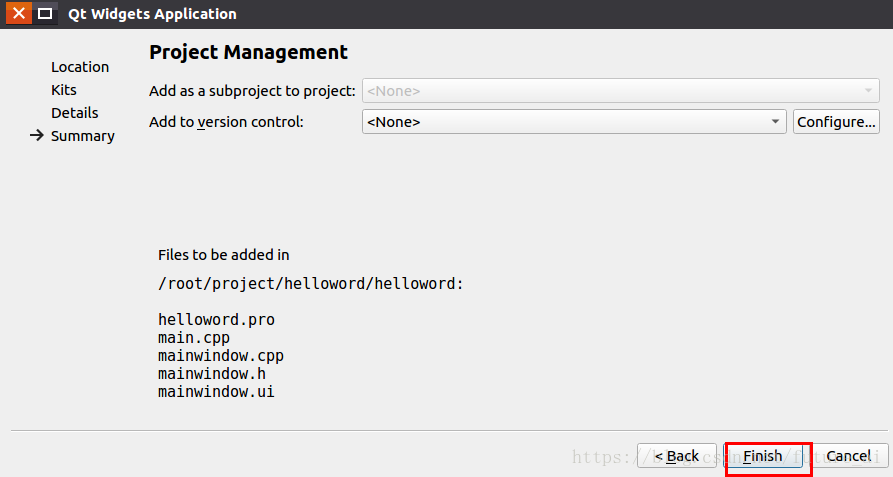
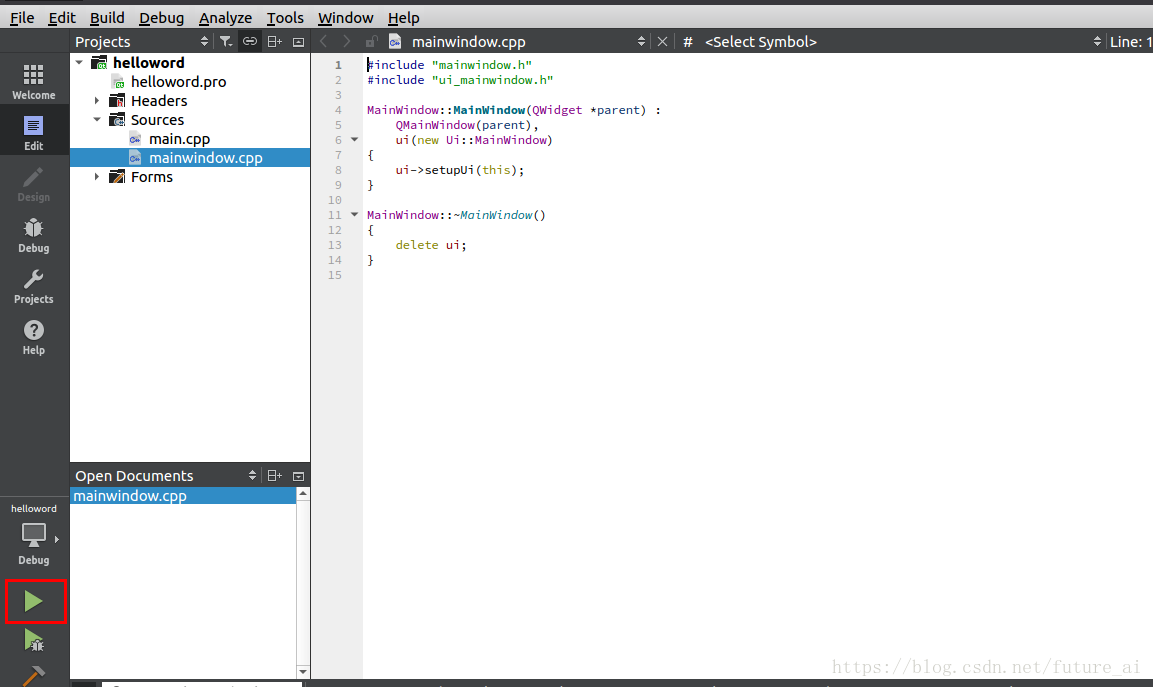
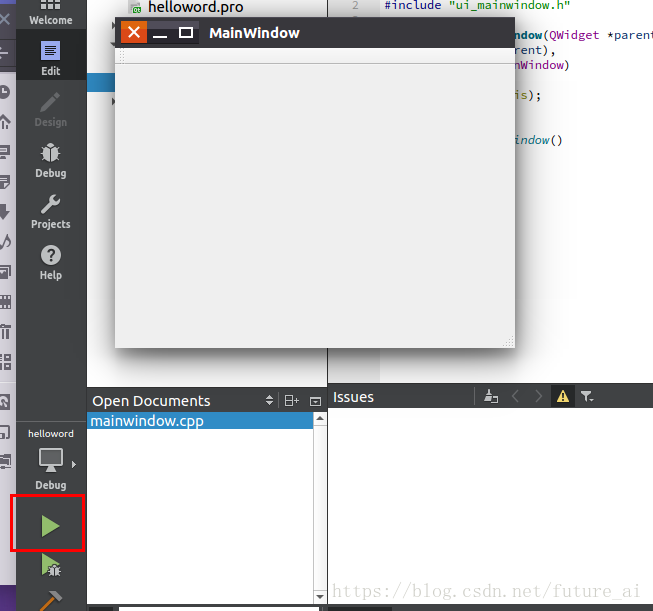
将第一行改为bin目录的路径,第二行改为qt5.8.0目录的路径,然后保存退出。 在安装目录找到qtcreator,双击打开qtcreator。 可以直接把qtcreator固定在工具,为了下次方便打开。 现在,新建一个工程helloword,测试一下。 设置项目名称和项目路径。 点击运行 如果出现:-1: error: cannot find -lGL错误,那是没有安装libgl1-mesa-dev 执行sudo apt-get install libgl1-mesa-dev完成后,回到qtcreator界面,重新运行项目,就出现mainWindow界面了。至此,qt-opensource-linux-x64-5.11.1算是安装成功了。 |
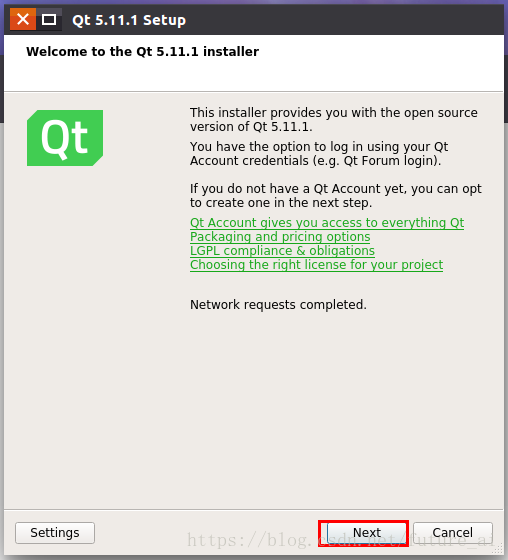
 本文以安装qt-opensource-linux-x64-5.11.1为例。


【本文地址】
公司简介
联系我们